The safest way to transition from manual to automatic assembly without disrupting production is to adopt a parallel pilot + gradual shift strategy: first run a small automated line alongside your existing manual process to validate performance, then incrementally transfer production batches while cross-training your team. This approach minimizes downtime, reduces risk, and lets you iron out kinks before full-scale deployment.
For manufacturers in
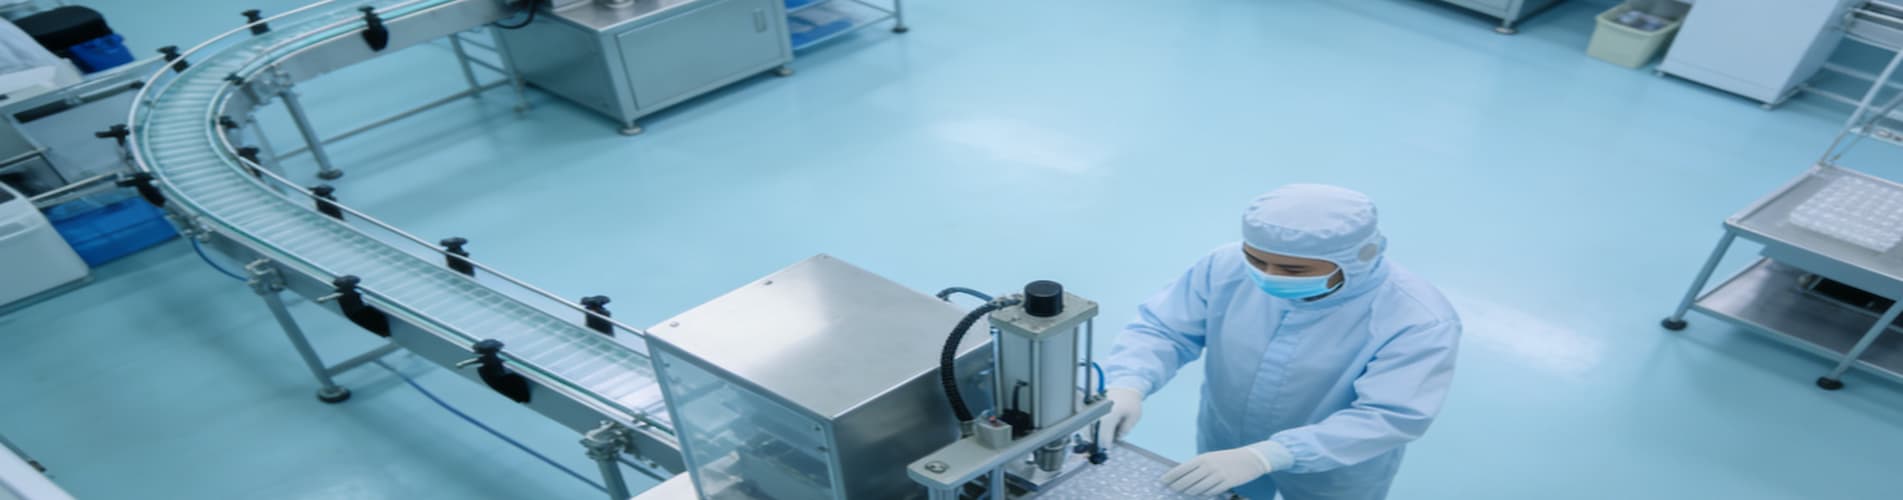
medical devices,
lighting fixtures, or
3C electronics—where precision and consistency are critical—this phased method ensures you keep meeting delivery deadlines while unlocking the efficiency of automation. Below is a step-by-step framework tailored to your production needs.
1. Phase 1: Audit & Parallel Pilot (0–4 Weeks)
Before touching your existing manual line, map every detail of your current workflow to identify bottlenecks and high-risk steps. Document cycle times, defect rates, and labor costs for each assembly station—this baseline data will help you measure the success of your automation project later.
Next, build a small-scale automated pilot line (e.g., a single workstation or a mini-line for one product variant) and run it in parallel with your manual line. Do not replace any manual operations at this stage; instead, use non-critical, low-volume orders to test equipment compatibility, tooling fit, and operator familiarity.
For example, if you produce
medical laparoscopic trocars, start by automating the component feeding and initial alignment steps, while keeping the final calibration manual. This lets you validate OEE (Overall Equipment Efficiency) and defect rates against your manual baseline without endangering core production.
2. Phase 2: Gradual Line Segmentation (4–12 Weeks)
Once the pilot line proves stable (≥90% OEE, defect rates ≤ manual levels), begin gradually shifting production batches to automation. Split your production by product type or process complexity:
- Assign high-volume, repeatable products (e.g., GU10 lamp bases, standard hemostatic clips) to the automated line.
- Keep complex, low-volume custom orders on the manual line to avoid overloading the new system.
Increase the automated production share by 10–20% weekly, adjusting for learning curves. Cross-train your manual operators to run and maintain the automated equipment—this not only eases labor transition but also leverages their on-the-ground expertise to troubleshoot issues faster.
For instance, a lighting manufacturer might first shift 20% of its
GU10 bulb assembly to automation, then scale up to 80% after two weeks, while keeping custom floodlight assembly manual until the automated tooling is refined.
3. Phase 3: Full Integration & Optimization (12+ Weeks)
When the automated line handles ≥70% of your production volume without disruptions, begin integrating it fully with your supply chain and quality systems. Update your SOPs (Standard Operating Procedures) to reflect automated workflows, and train your quality team to audit automated output using the same metrics as manual production.
Finally, use data from the automated line to optimize further: adjust cycle times, refine tooling, and expand automation to additional stations. This is also the time to retire redundant manual stations, reallocating staff to higher-value tasks like process improvement or new product development.
4. Key Risk Mitigation Strategies
- Buffer inventory: Build 1–2 weeks of finished goods inventory before starting the transition to cover any unexpected downtime during the pilot phase.
- Dual sourcing: Keep critical manual stations operational until the automated line is fully validated to avoid supply chain gaps.
- Change management: Communicate the transition plan clearly to all teams, emphasizing that automation is meant to augment—not replace—human labor, reducing resistance to change.
FAQ
Q1: How long does a typical transition take?
A: For most small-to-medium manufacturers, a full transition takes 3–6 months, depending on the complexity of the product and the scale of automation. The parallel pilot phase alone usually lasts 4–6 weeks to ensure stability.
Q2: Can we automate only part of our assembly line?
A: Yes—partial automation is often the best starting point. Focus on high-volume, repetitive steps (e.g., component feeding, screw driving) first, then expand to more complex tasks as your team gains experience. This minimizes risk while delivering quick efficiency gains.
Q3: How do we train our existing manual workers for automation?
A: Start with hands-on training on the pilot line, pairing operators with automation engineers. Create quick-reference guides for common troubleshooting tasks, and offer ongoing upskilling programs (e.g., PLC programming, equipment maintenance) to help staff transition to technical roles.
Q4: What if the automated line has unforeseen issues during production?
A: The parallel pilot design ensures you can immediately revert to manual production if the automated line fails. Keep your manual line fully operational until the automated system achieves ≥95% uptime, so you never miss a delivery deadline.


 IPv6 Network Supported